
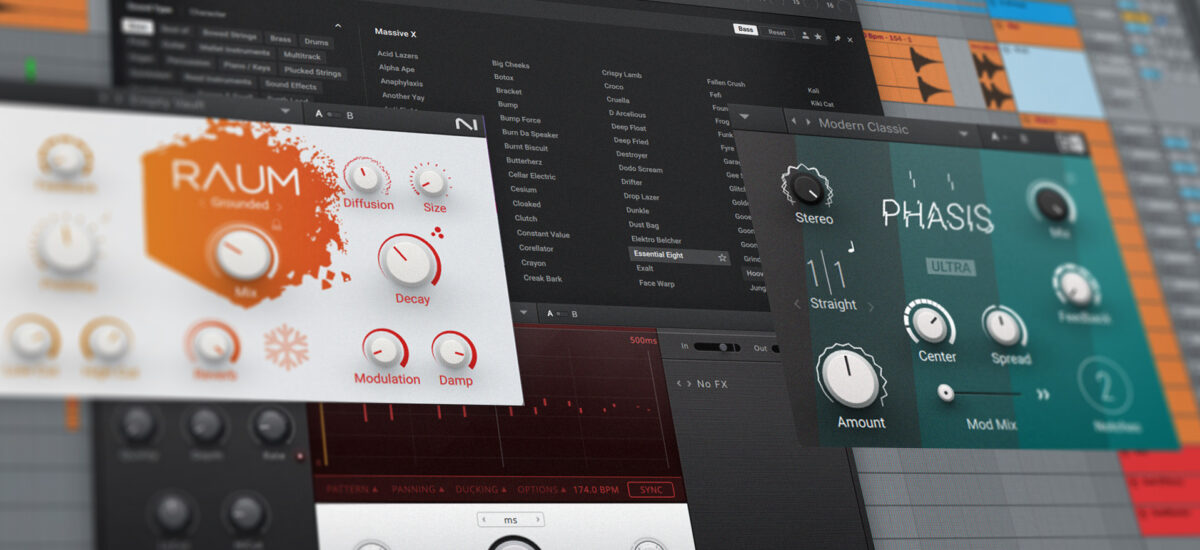
The term “pads” can be a confusing one for newcomers to music production – it’s not analogous to an acoustic instrument like a guitar or a bell, and it’s not onomatopoeic like a growl or a “wub”. So what are pads in music?
In this guide we’ll explain what pads are, give you some examples of pads in music, teach you how to create your own pad using a combination of synthesis and sample-based sounds, and use that pad in the context of an atmospheric DnB beat.
Native Instruments · The Atmospheric DnB beat
Jump to these sections:
For this tutorial we’re going to use Native Instrument’s Massive X synth, Hypha instrument (which is compatible with Kontakt 8 and the free Kontakt 8 Player), Phasis phaser, Raum reverb, Replika XT delay, the Rolling Tides expansion and Komplete Kontrol.
Get Massive X
What do pads mean in music?
In music, a pad is a sound that is most often used to create a sustained background texture. Pads are often soft and smooth, but they can be animated and bright as well. Here’s an example of a well known piece of music that’s extremely heavy on the use of pads: “Blade Runner Blues” from Vangelis’ soundtrack to the sci-fi classic Blade Runner.
This piece is predominantly based around a synth pad playing a rich jazzy chord, giving it a lush, sustained texture. Not all pads are synth-based though, in fact here’s the same piece of music played predominantly acoustically, with an acoustic string pad replacing the synth.
Here’s a more recent track that heavily features synth pads, The Weeknd’s “Blinding Lights”.
As well as synths and strings, another common basis for pads are samples. Here’s a track that uses sample-based pads, Photek’s “T’Reanon”, which uses 90s sample-based sound modules to create its atmospheric timbres.
What’s the difference between a synth and a pad?
Pads can be created with synths, but of course not all synth sounds are pads. Typically pads have long amplitude envelope attacks and release times, which means that they fade in and out smoothly, and often pads will feature some kind of filter modulation or modulation-based processing that keeps their sound gradually moving and evolving. Let’s create our own pad sound now to solidify our understanding of what pads are, and what makes a good pad sound.
How to make pads in music
1. Create a smooth amplitude envelope
Let’s start by adding Massive X onto a MIDI track in our project. Let’s check out the initial patch’s amplitude envelope in the bottom left-hand corner of the interface. Here we can see that the A (Attack) and R (Release) knobs are set quite low, giving us quick attack and release times, and a snappy sound.
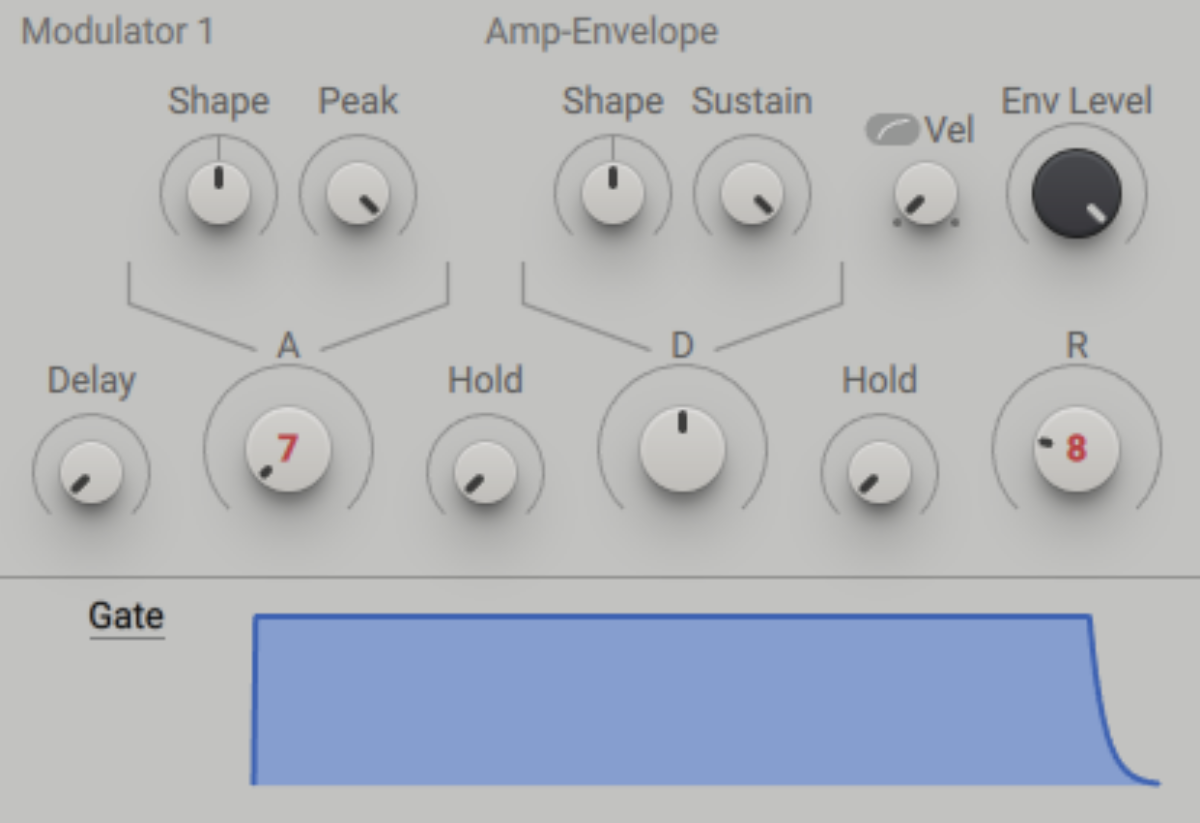
The amplitude envelope
Here’s how that sounds when we play a single note.
Native Instruments · Default attack and release times
Let’s turn up the Attack and Release knobs to around 2 seconds to give us a smoother sound
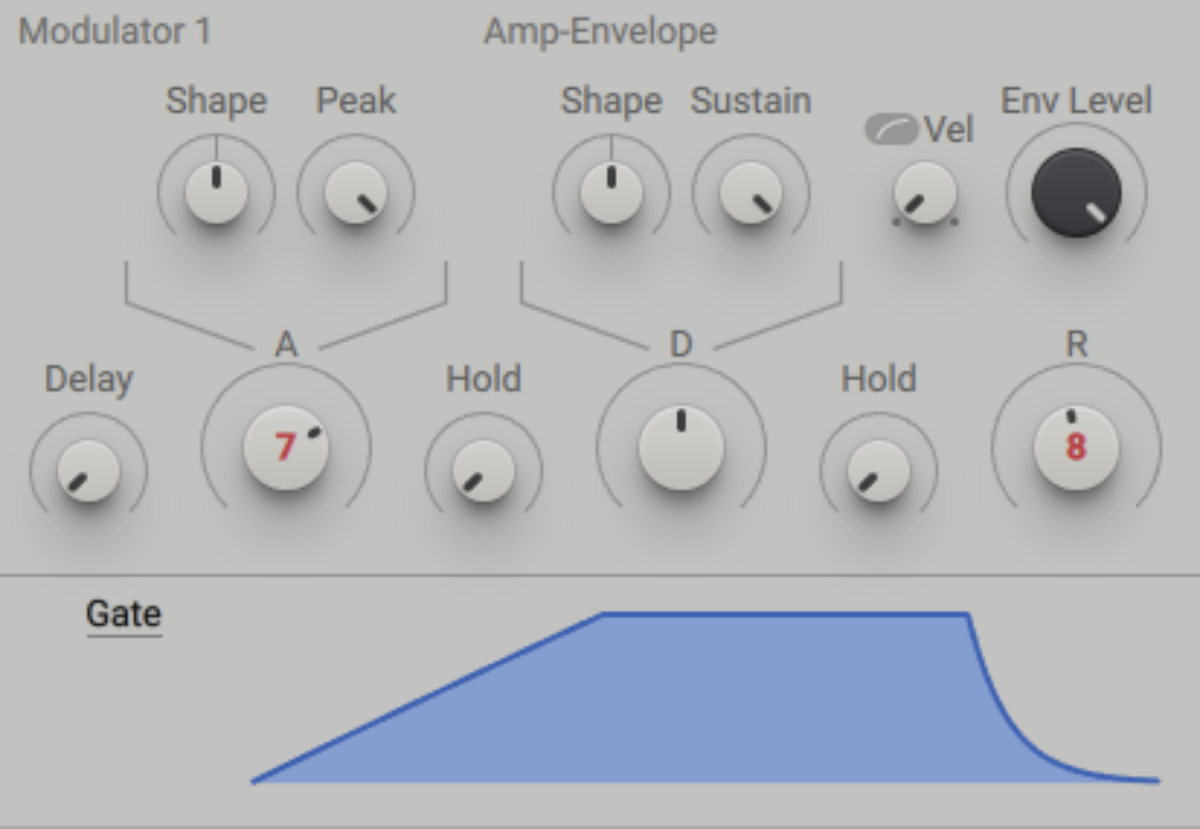
Longer attack and release times
Here’s how that sounds when we play a single note.
Native Instruments · Increased attack and release times
Often pads are used to play chords. Before we do that, let’s turn down Massive X’s Master Volume level so that our patch doesn’t clip when we play a large number of notes.
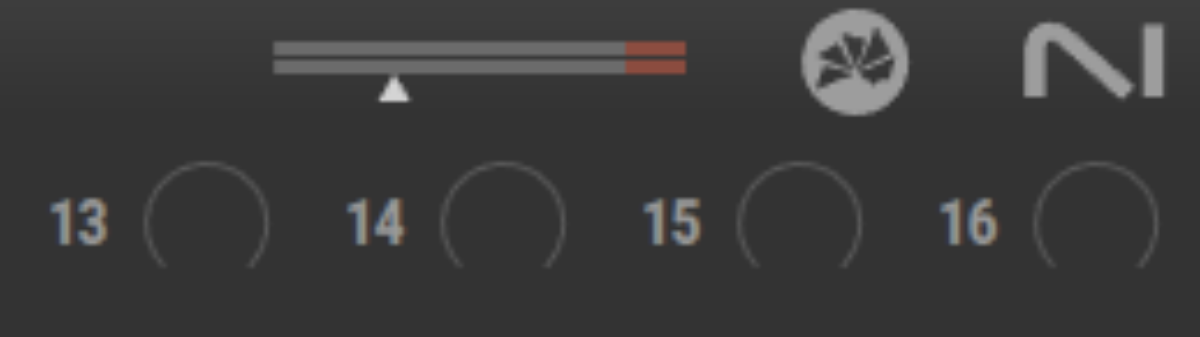
Turning down the Master Volume level
Now let’s play a rich F minor 9 chord, consisting of F2, G#2, C3, D#3 and G3 notes that last for three bars.
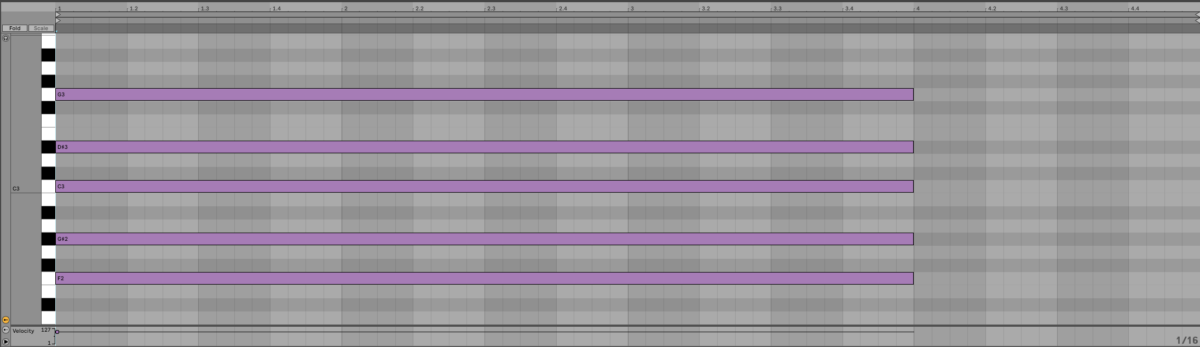
An F minor 9 chord
Native Instruments · An F minor 9 chord
This is the simplest synth pad sound we can create, but it’s a little static. Let’s see how we can add some movement next.
2. Use filter modulation
Let’s use a filter to smooth out the sound. In the Filter panel, turn down the Freq (Frequency) knob to around 400 Hz. This takes out the high-end of the sound, making it a lot smoother.
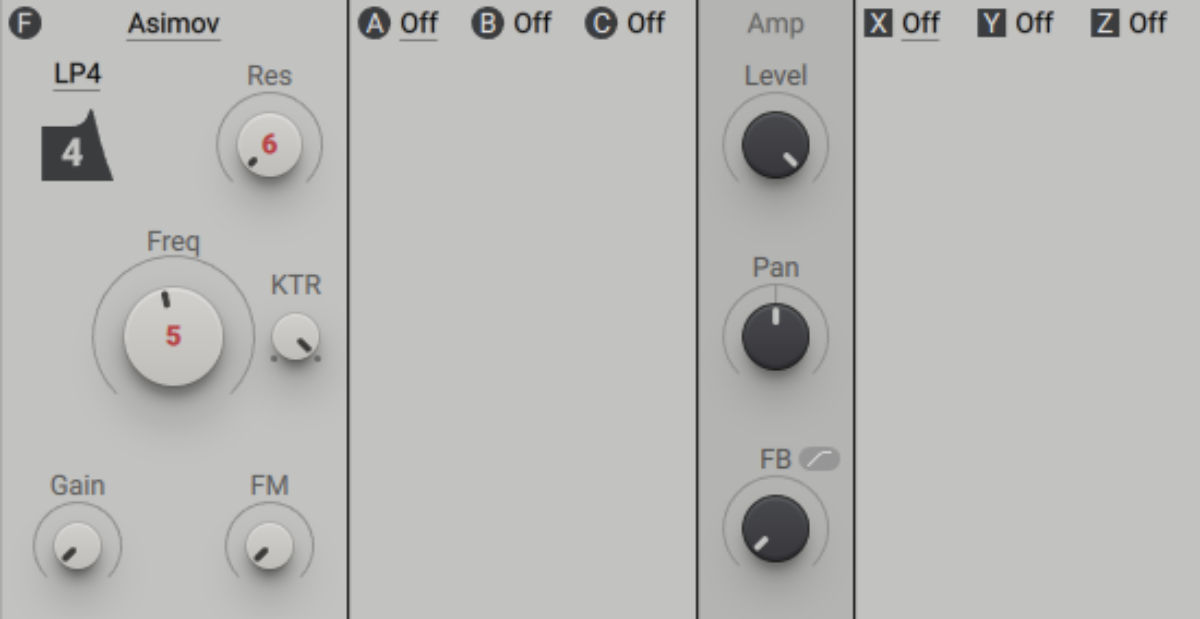
Turning down the filter’s frequency
Native Instruments · Reduced filter frequency
This effect is static though, and it doesn’t sound particularly interesting. Let’s make it feel a bit more dynamic by using an envelope to modulate the filter cutoff frequency. Drag the Modulation Assign cross icon above E2 onto the first slot under the Freq knob, which will appear when you click and hold on the cross icon. This tells Massive X we want Envelope 2 to modulate the frequency.
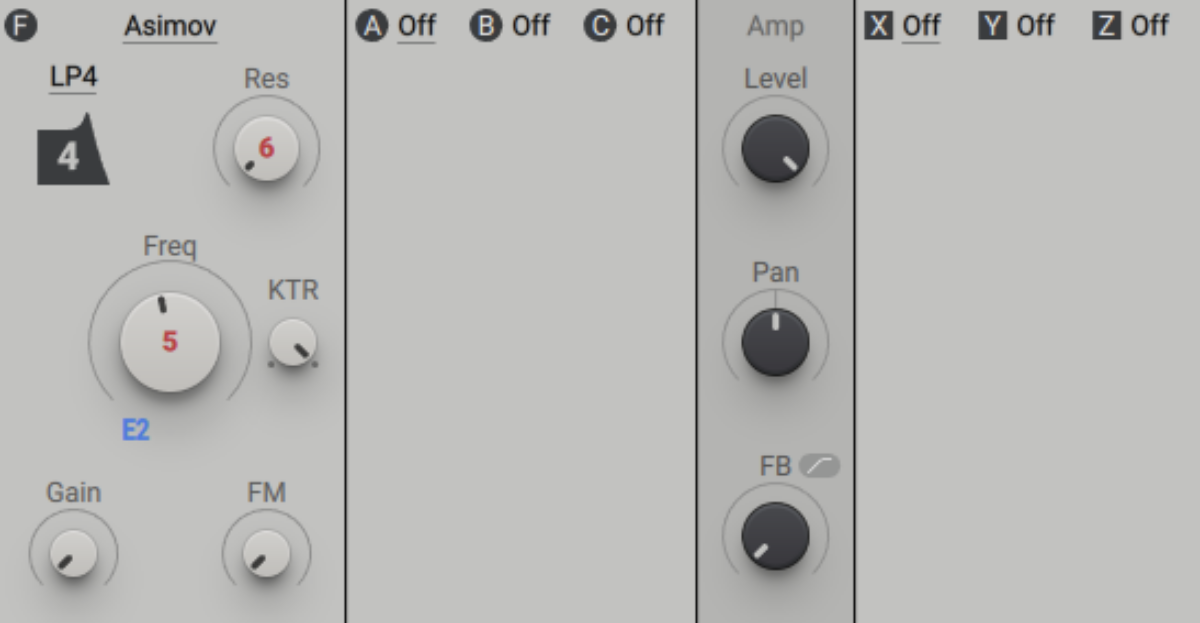
Assigning Envelope 2 to filter frequency
Now, drag up on the E2 slot below the Freq knob to increase the modulation amount.
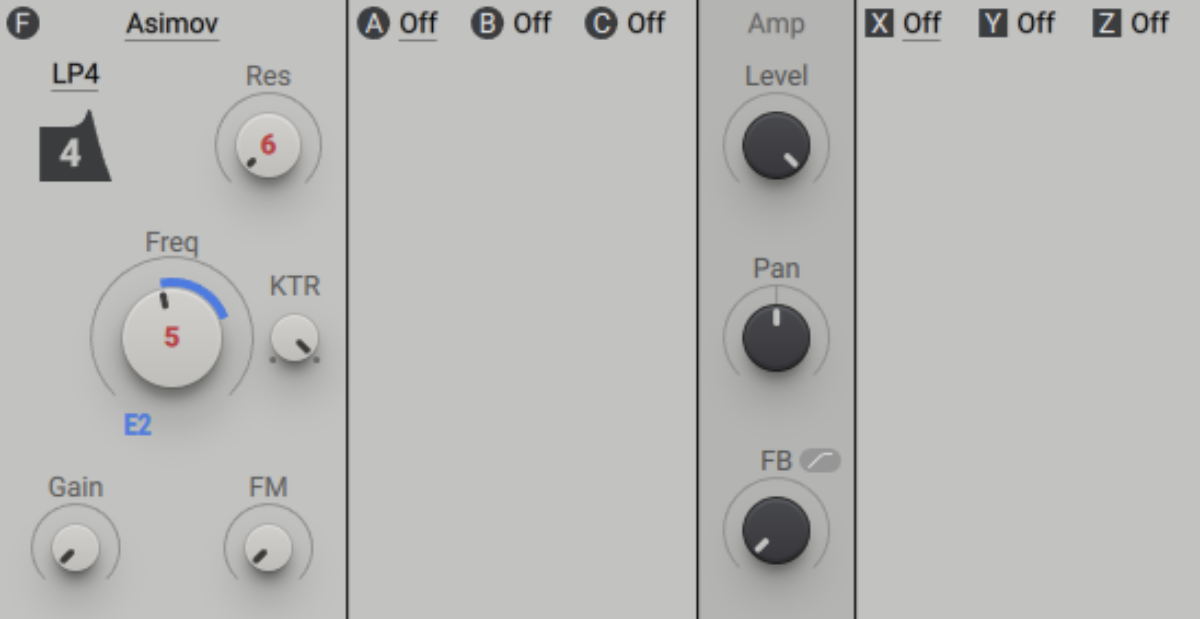
Increasing the modulation amount
Now turn up Envelope 2’s Attack, Decay and Release to about 3 seconds each. This gives us a smoother filter movement, resulting in a more involved sound.
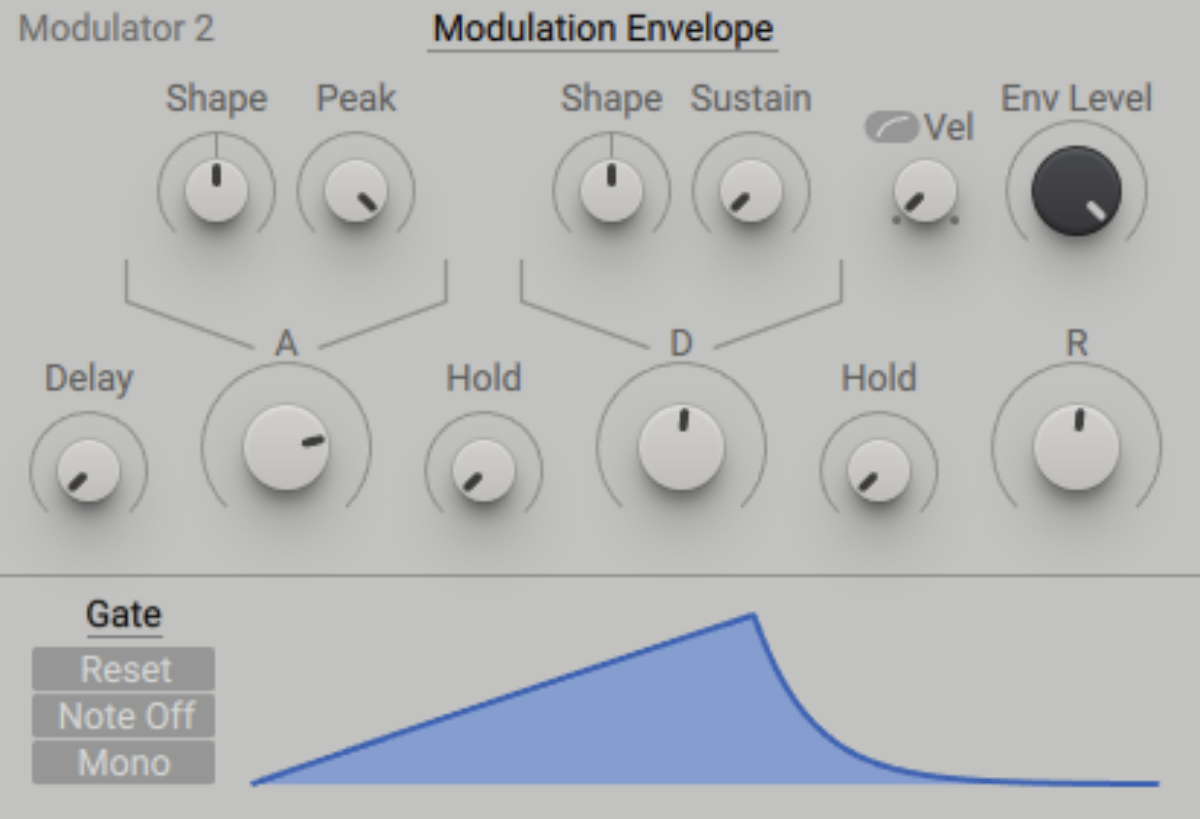
Increasing Envelope 2’s Attack, Decay and Release
Native Instruments · Filter frequency modulation
3. Apply FX
Our patch is still rather static-feeling, and quite dry-sounding. We can remedy both of these issues with Massive X’s included effects processors. In the Stereo Effects panel on the right-hand side of the interface, click the X menu and select Phaser from the list of available effects.
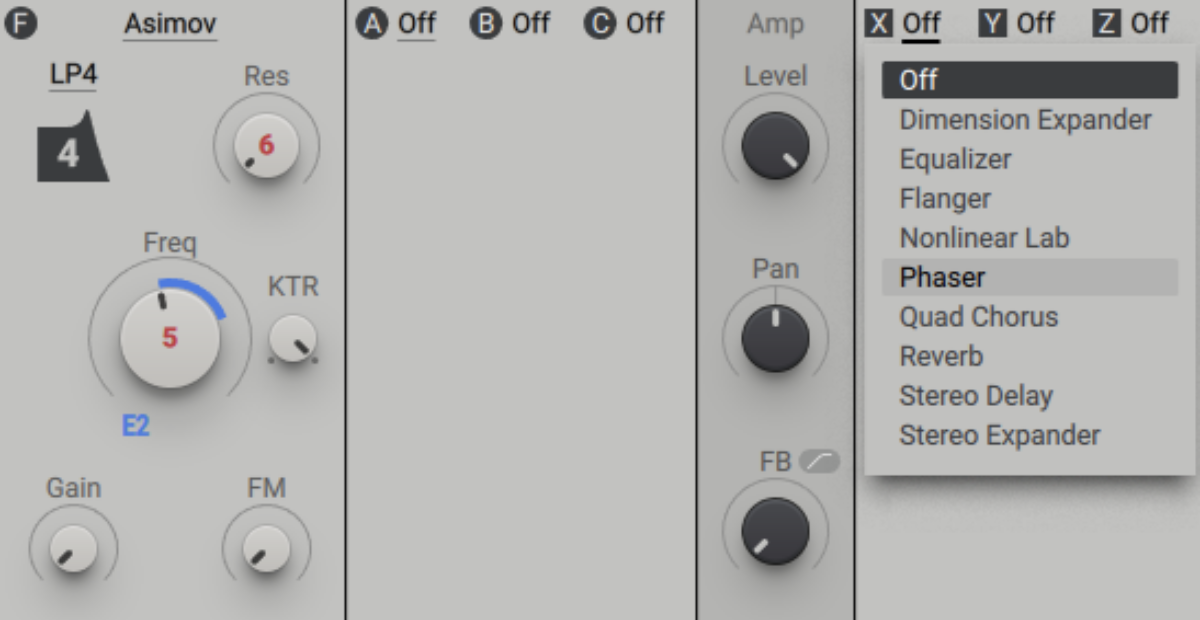
Adding the Phaser effect
The default settings of this effect are a little extreme for this kind of sound, so let’s tame them a little. Set the FB (Feedback) level to 45%, and the Rate to around 0.2 Hz.
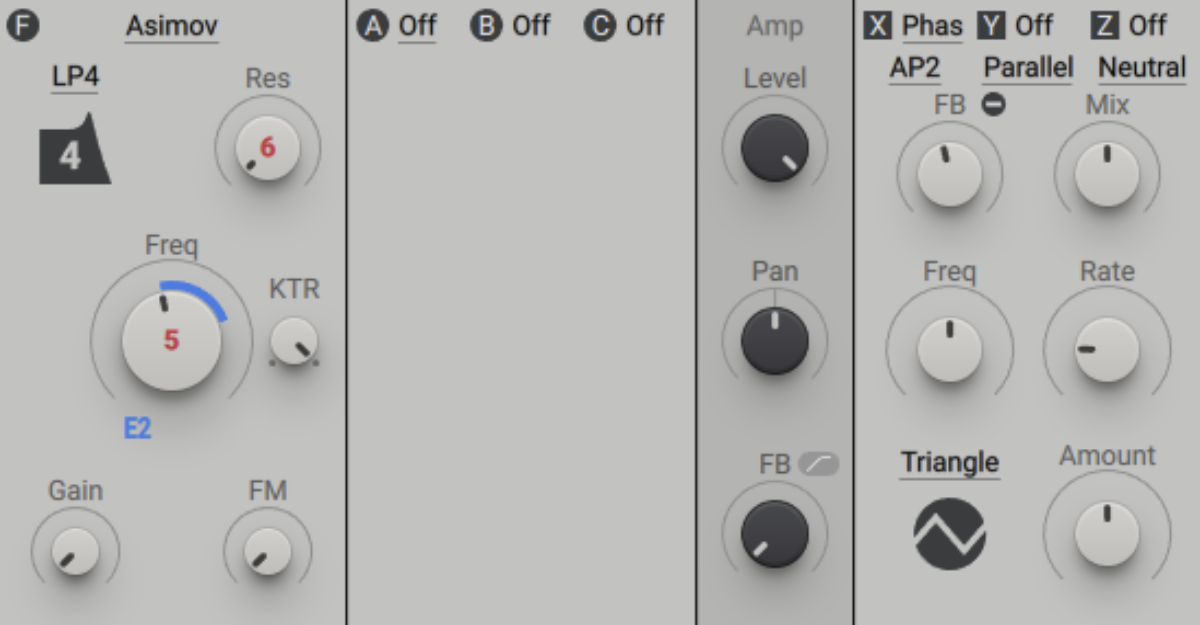
Adjusting the Phaser effect
Native Instruments · The Phasor effect
This adds an extra dimension of movement to the sound. Now let’s deal with the dryness. Set the Y effect to Stereo Delay.
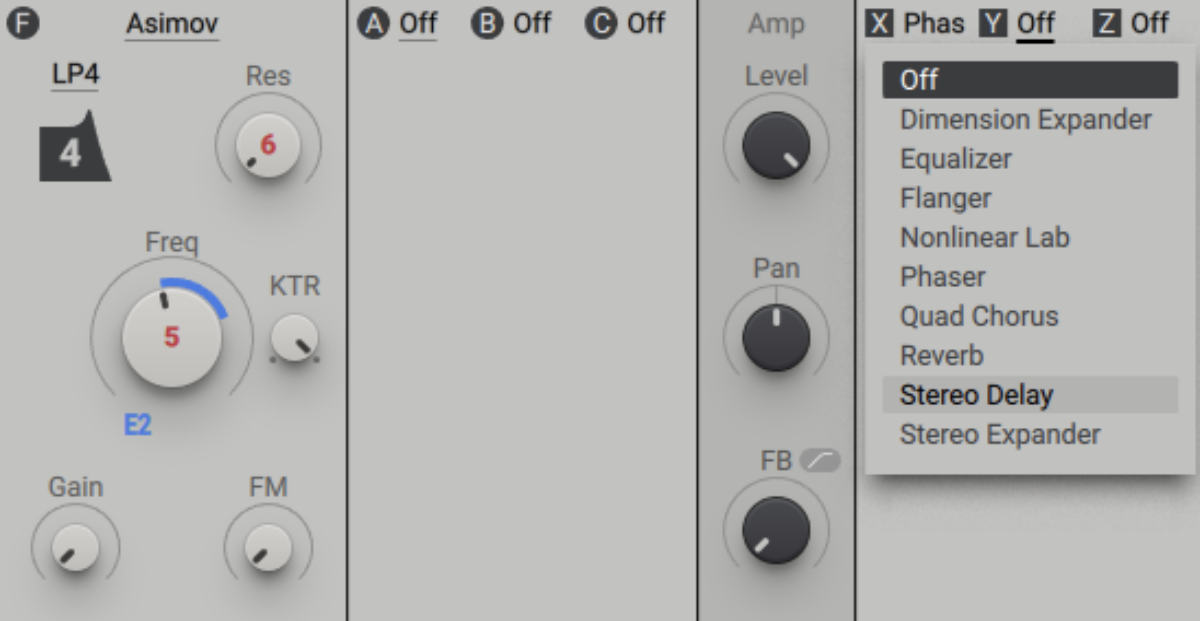
Adding the Stereo Delay effect
Native Instruments · The Stereo Delay effect
This sounds great with the default settings, so next let’s move on and add another effect. Set the Z effect to Reverb.
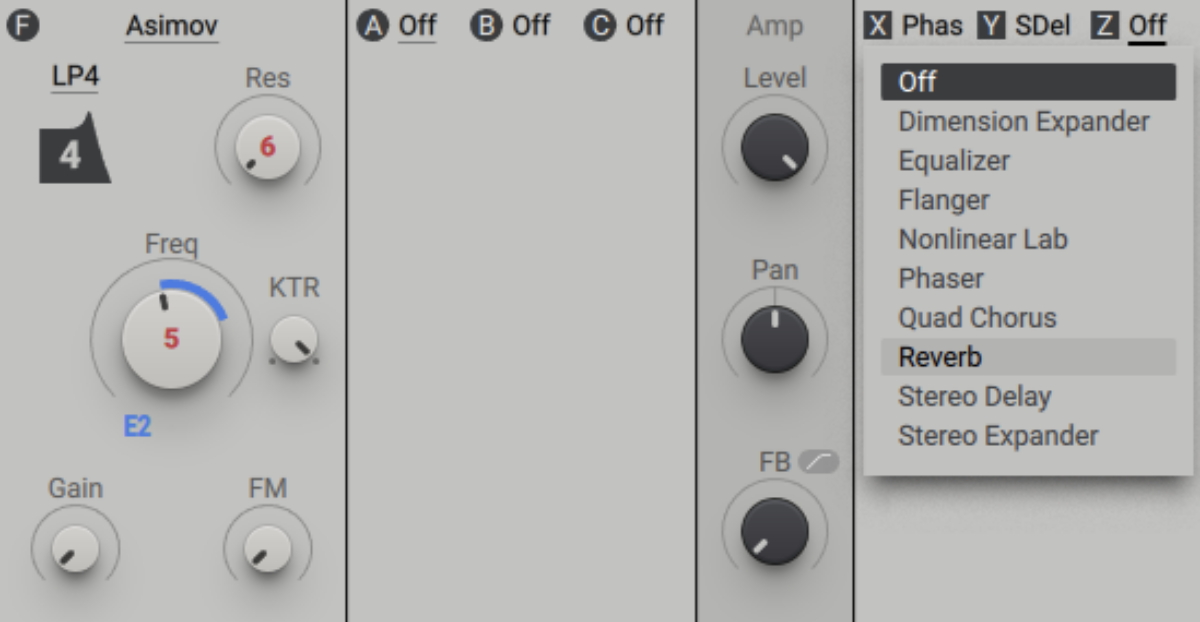
Adding the Reverb effect
Let’s make the effect more obvious by turning up its Size to 100%.
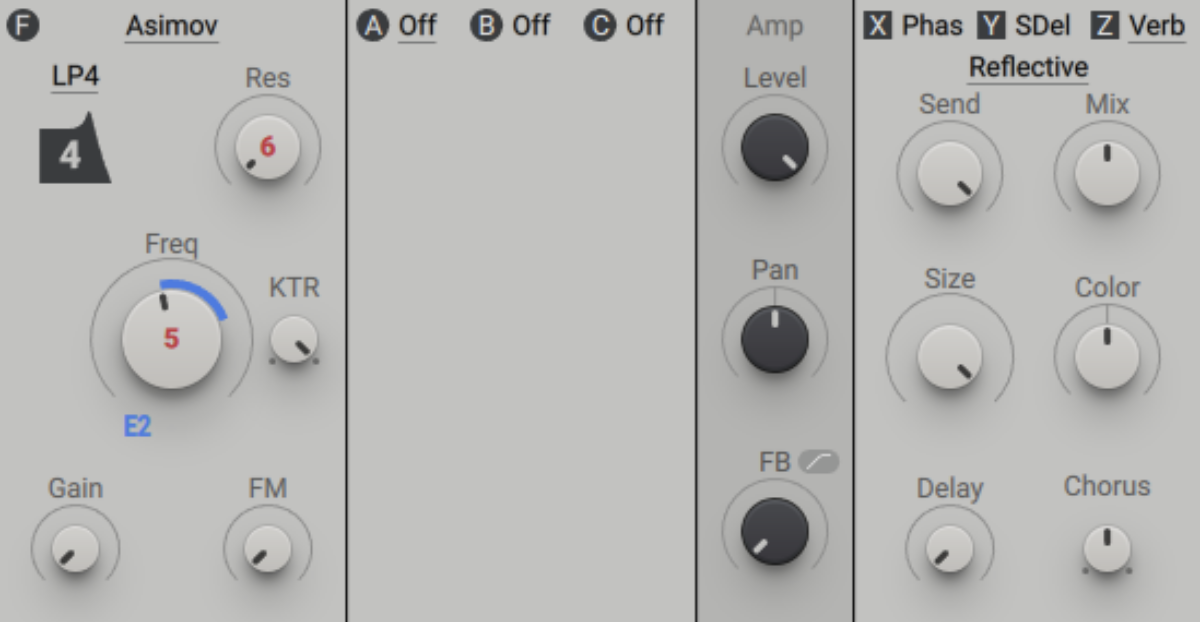
Adjusting the Reverb effect
Native Instruments · The Reverb effect
We now have a more developed synth pad sound. Next, we’ll add a sample-based element to give it a touch more flavor.
4. Add a sample-based element
Let’s add an organic touch to our pad with Hypha, a sample-based instrument. Load up Kontakt 8 or Kontakt 8 Player on a new MIDI track, and enter “Coral Reef” into the text search field. Double-click the Coral Reef preset to load it up.

Loading Hypha’s Coral Reef preset
Sequence the preset to play on F2 alongside the synth pad.
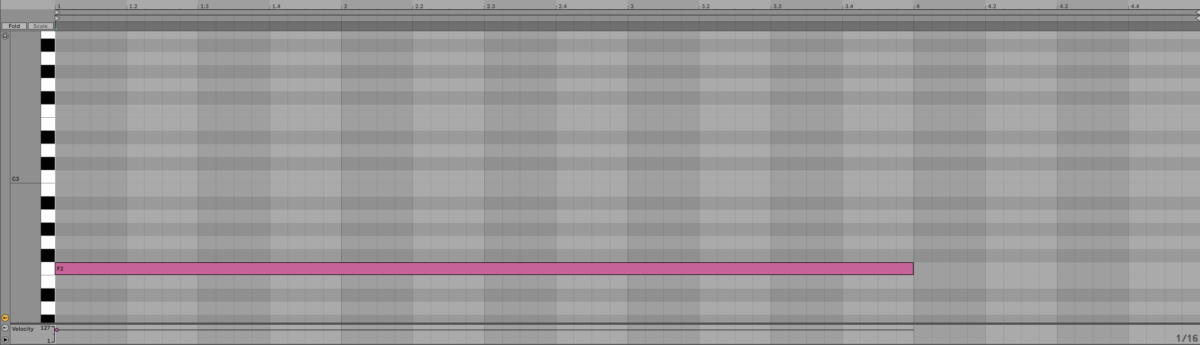
Sequencing the Coral Reef preset
Native Instruments · The Coral Reef preset
This gives our pad a more involved feel, but the Coral Reef sound has a lot of low-end that’s giving it a muddy quality. Click the + icon above the Cutoff knob, and change the filter type to Highpass.

Changing the filter type
Now set the Cutoff knob to around 130 Hz.
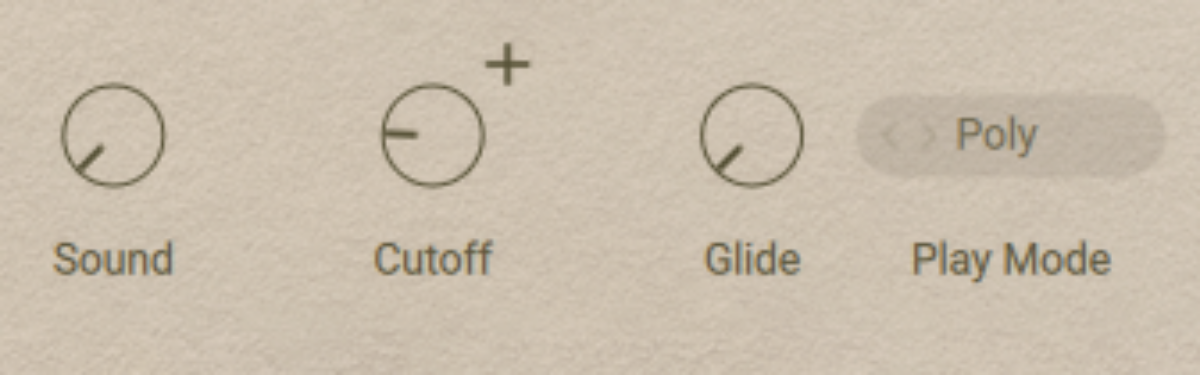
Adjusting the filter Cutoff
Native Instruments · The filtered Coral Reef preset
Let’s help the Coral Reef preset sound less dry with some effects, much as we did with the Massive X synth part. First add Phasis. Click the patch name, and load the Keys + Guitars > Modern Classic preset.
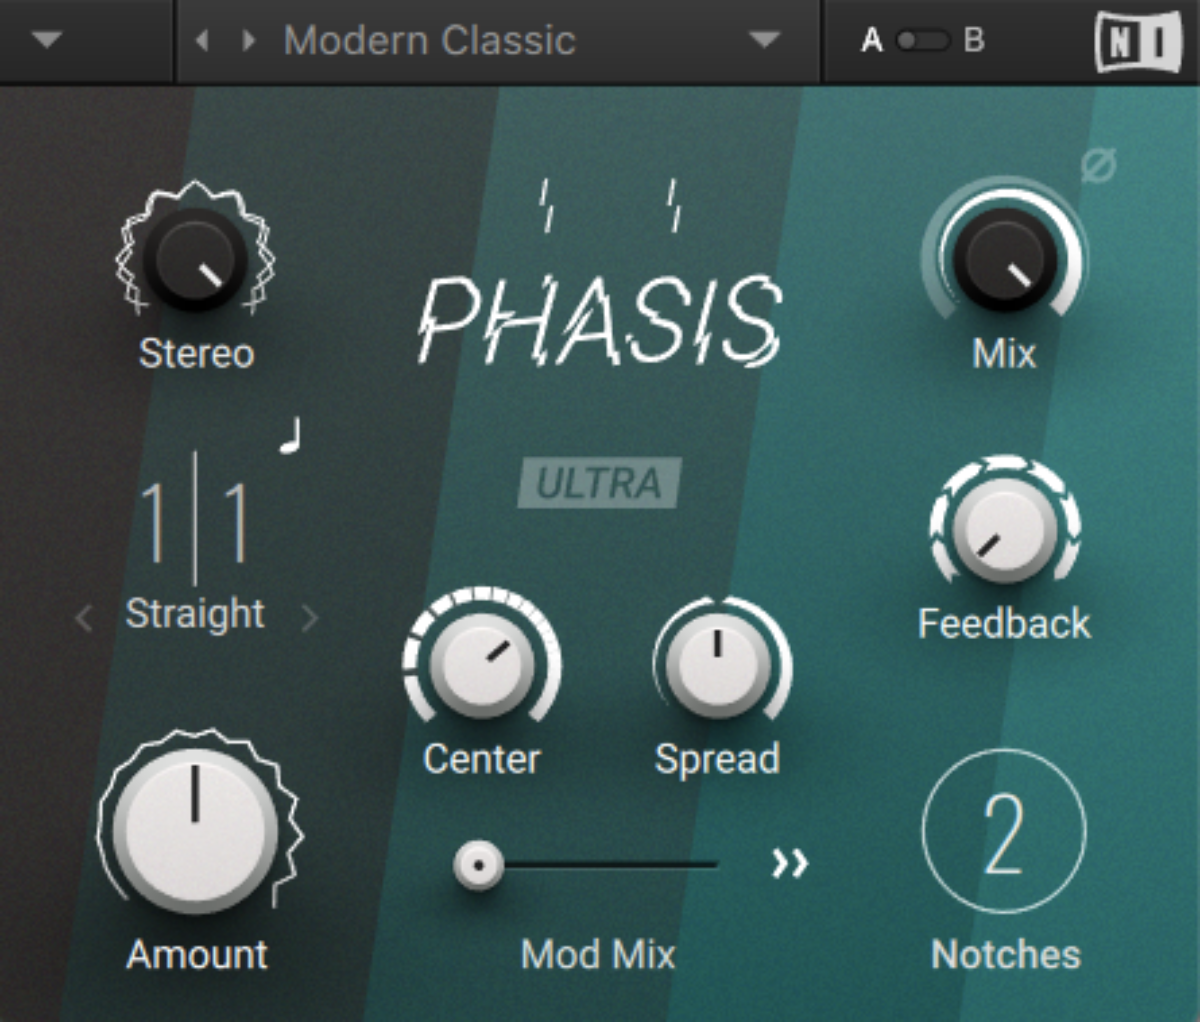
The Modern Classic preset
Native Instruments · The Modern Classic preset
Now add Replika XT and load the Classics > Stereoflex preset.
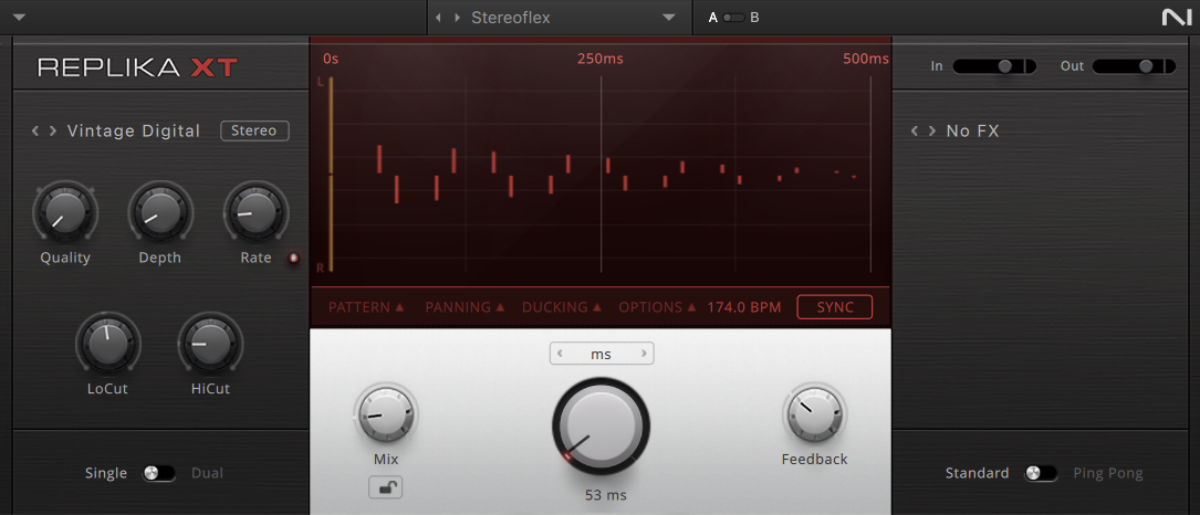
The Stereoflex preset
Native Instruments · The Stereoflex preset
Finally add Raum and load the Medium > Empty Vault preset.
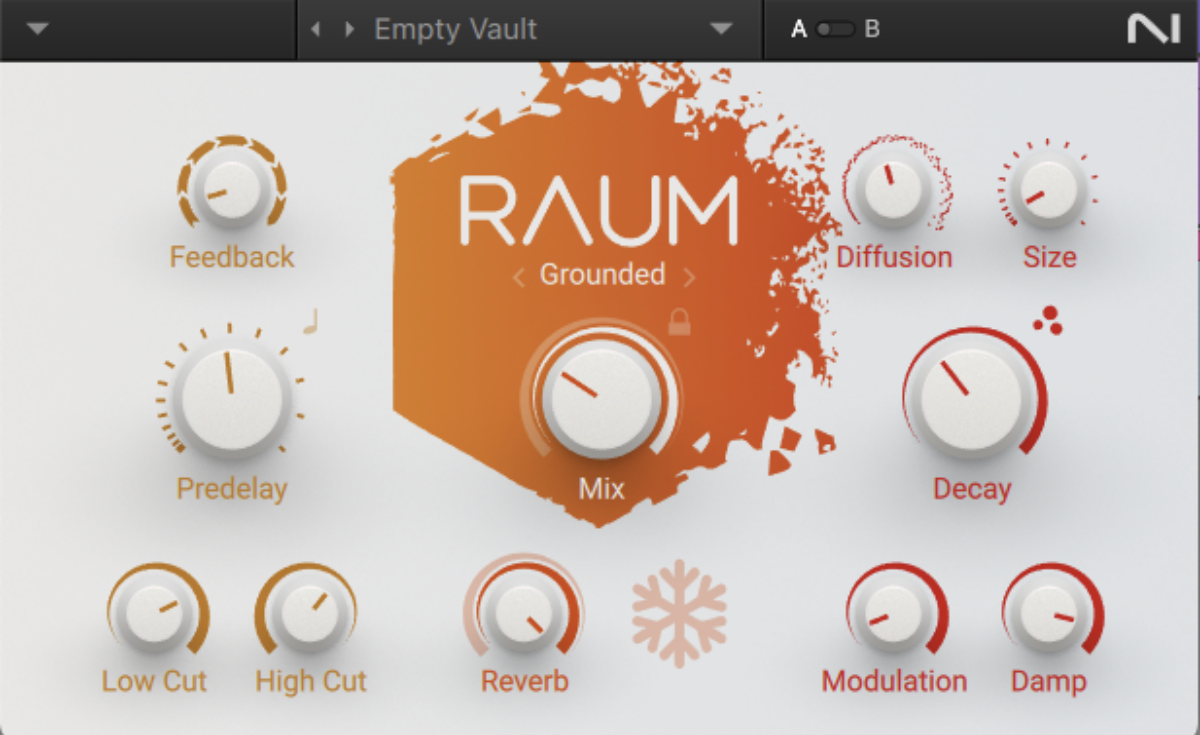
The Empty Vault preset
Native Instruments · The Empty Vault preset
Here’s how the processed Coral Reef preset sounds alongside the Massive X layer.
Native Instruments · The synthesized and sample-based sounds together
5. Use the pad in an electronic music context
Let’s add an atmospheric DnB breakbeat and bass line. Set your project to 174 BPM.

Setting the project to 174 BPM
Open Komplete Kontrol on a new MIDI track, then click the Loops button and enter “Break” in the text search field. Double click the Break[174] Intelligence 1 loop to load it up.
![The Break[174] Intelligence 1 loop](https://blog.native-instruments.com/wp-content/uploads/dynamic/2025/02/image-22-the-break-174-inteligence-1-loop-1200x0-c-default.png "The Break[174] Intelligence 1 loop")
The Break[174] Intelligence 1 loop
Sequence this to play on C3 for four bars.

Sequencing the break loop
Native Instruments · Adding a DnB breakbeat
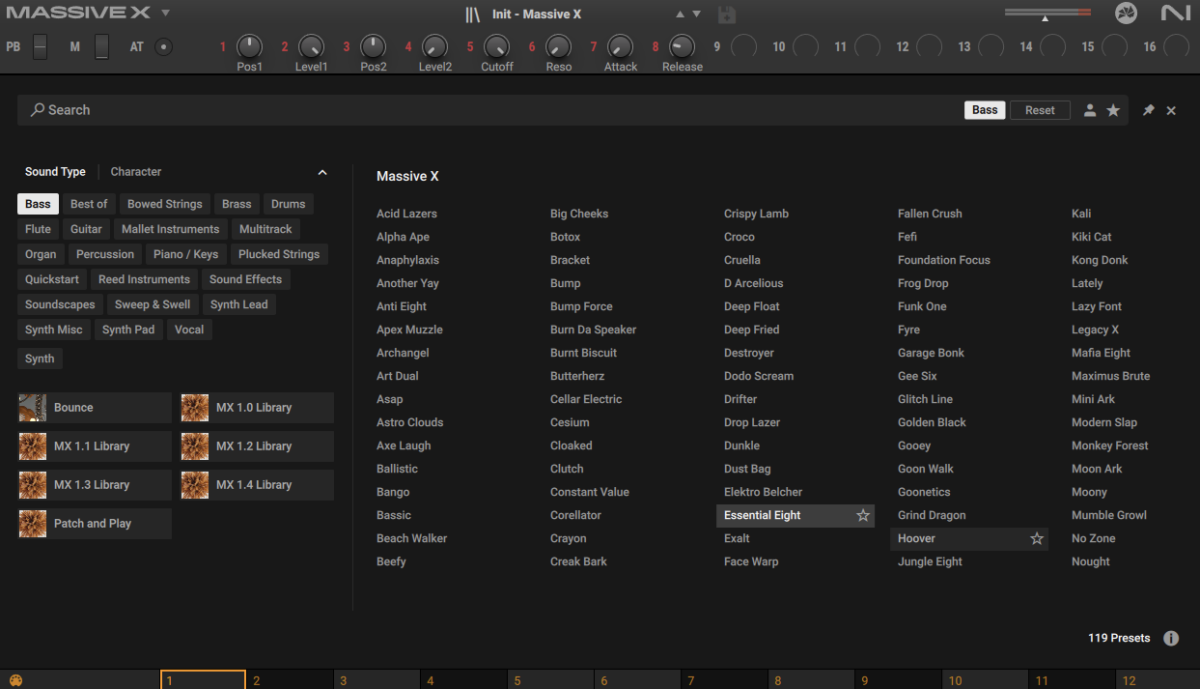
The Essential Eight preset
Copy the bass line we’ve used here, which plays F2, D#2, D#3 and A#2 notes.

The bass line
Turn all the tracks down to -6 dB to avoid clipping the master.
Native Instruments · Adding a bass line
Start using pads in your music today
Here we’ve seen how you can create your own pad from scratch with synthesis, develop its sound with sample-based instruments, and use it as the foundation for an atmospheric DnB beat using Massive X, Hypha, Phasis, Raum, Replika XT, Komplete Kontrol and the Rolling Tides expansion.
If you’d like to learn more, check out our guide on using synth pads for texture, as well as our guide on music production. Komplete Start,
Demo Massive X free
The post What are pads in music production? A guide to creating lush soundscapes first appeared on Native Instruments Blog.
Continue reading...